So here’s my cork secrets and how I do it. Corks come in different sizes so the first thing you must do is size the corks. I have three jigs: small 20mm, medium 22mm and large 24mm. I use these jigs to separate them into the three sizes. Some corks are tapered, smaller at one end and larger at the other. Some corks are mostly straight, but all seem to have their own very subtle, unique size and shape. Even after they are sized, a medium cork can very by one or two millimeters in thickness when laid end to end. For most of the cork art I have done, I cut the corks in half length ways. This requires a band saw. The jigs are used with the band saw.
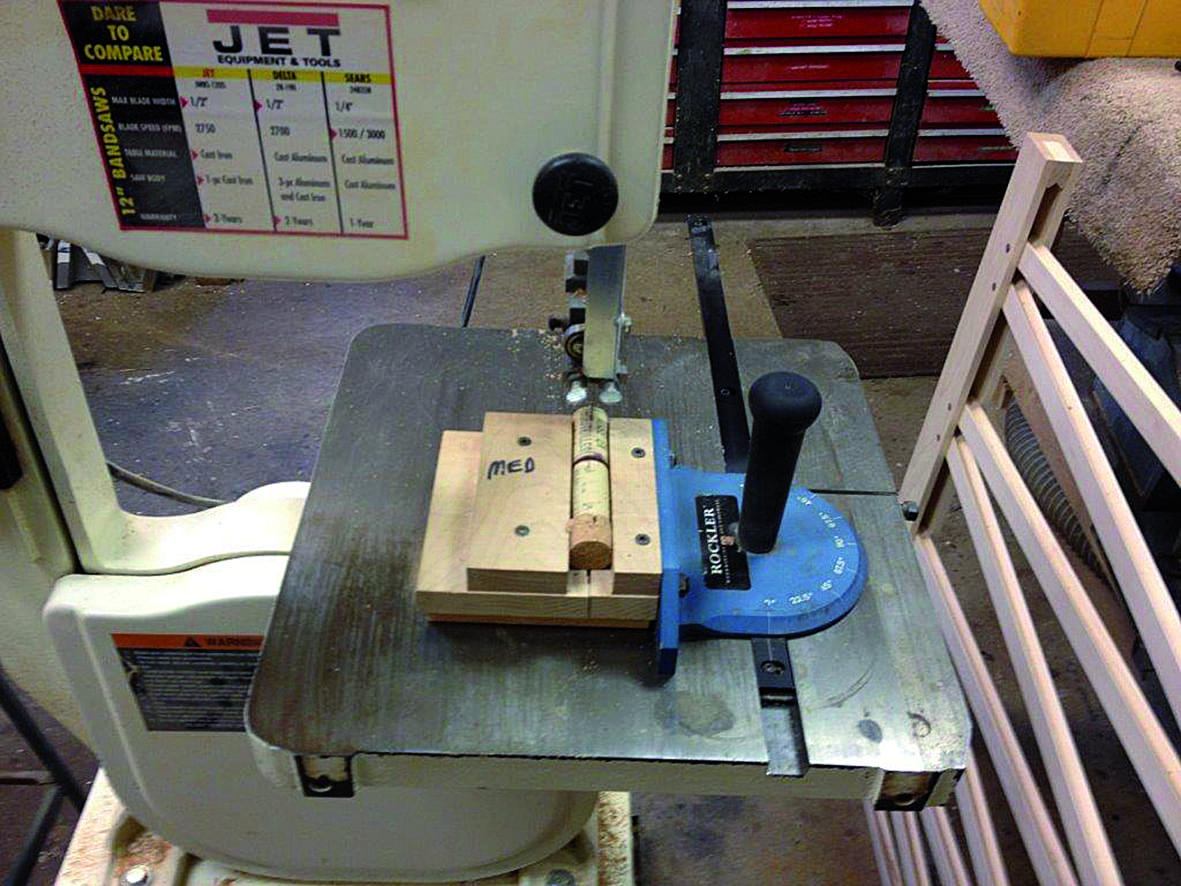
The glue I use is CA Thick, Stick Fast instant CA adhesive made by Rockler (www.rockler.com). It is very strong and only a small amount is needed. You must be very careful not to get it on places that will not covered with corks. I use this glue for a lot of other things too. You will also need a shop vac to attach on the disc sander, a magic marker, tape measure, straight edge ruler, masking tape, scissors and various thicknesses of cardboard. You’ll also need a dust mask when you’re using the Dremel tool and band saw. It is definitely not something you should be doing in your living room!
Cars & Cork
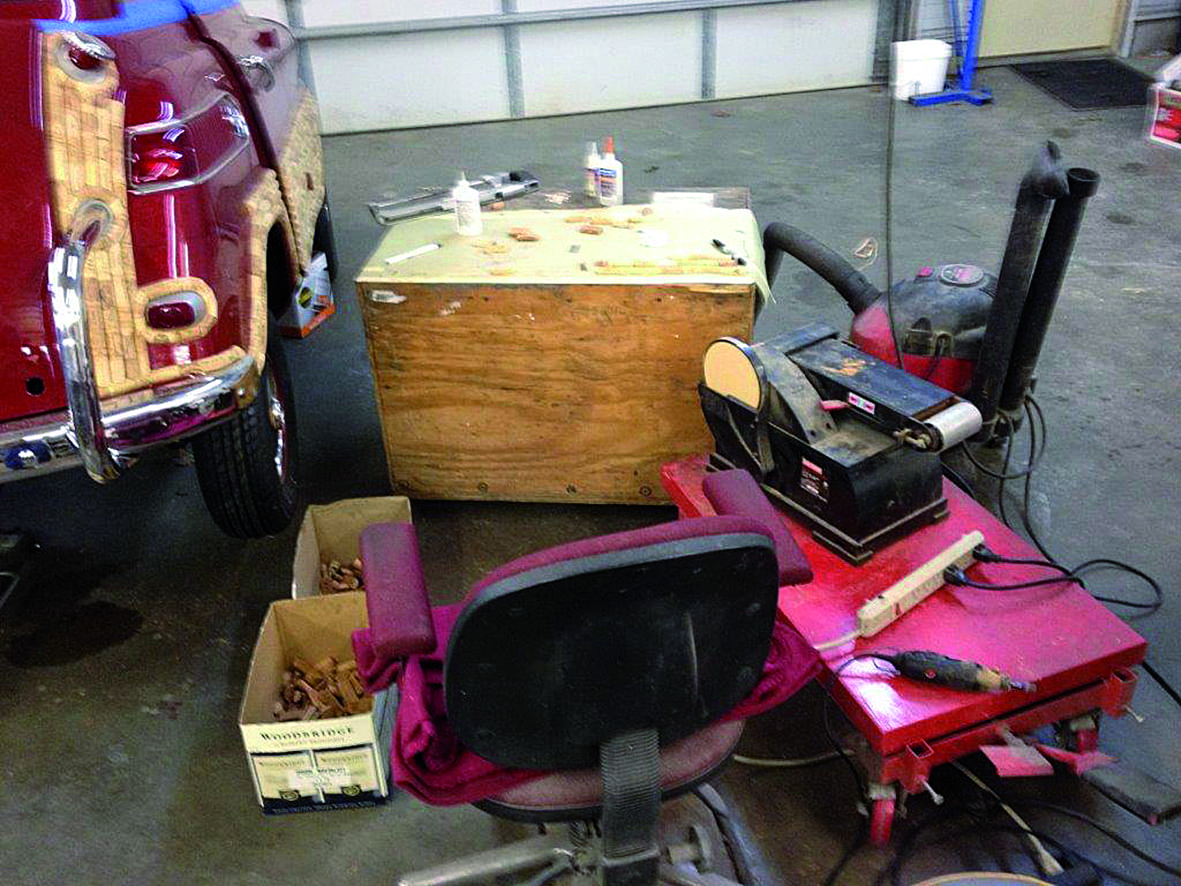
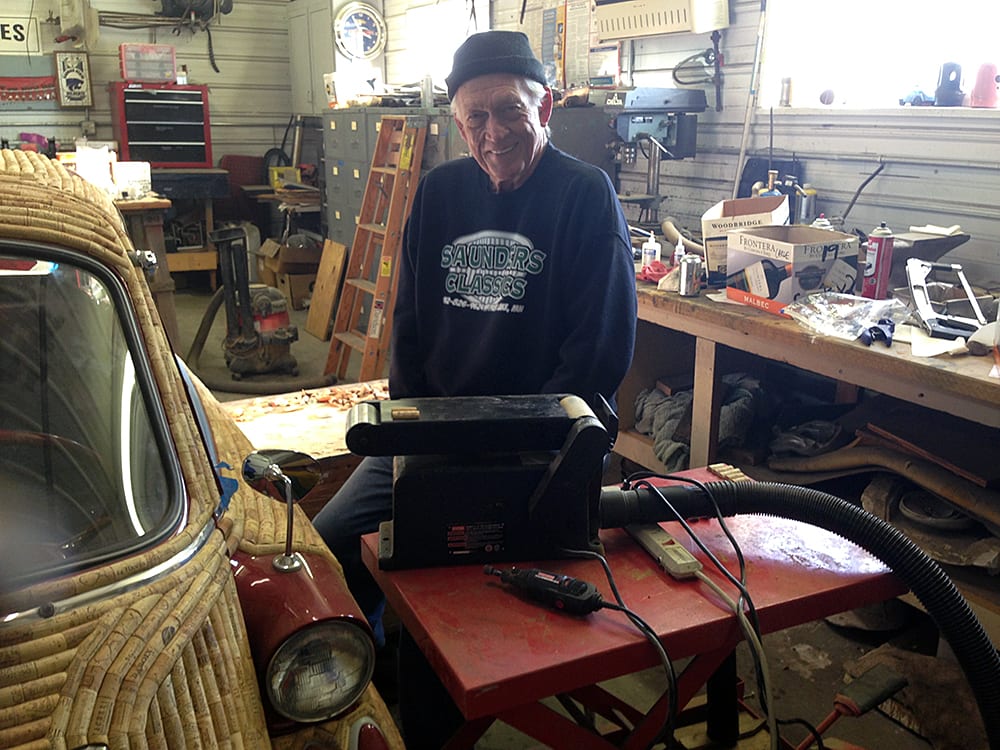
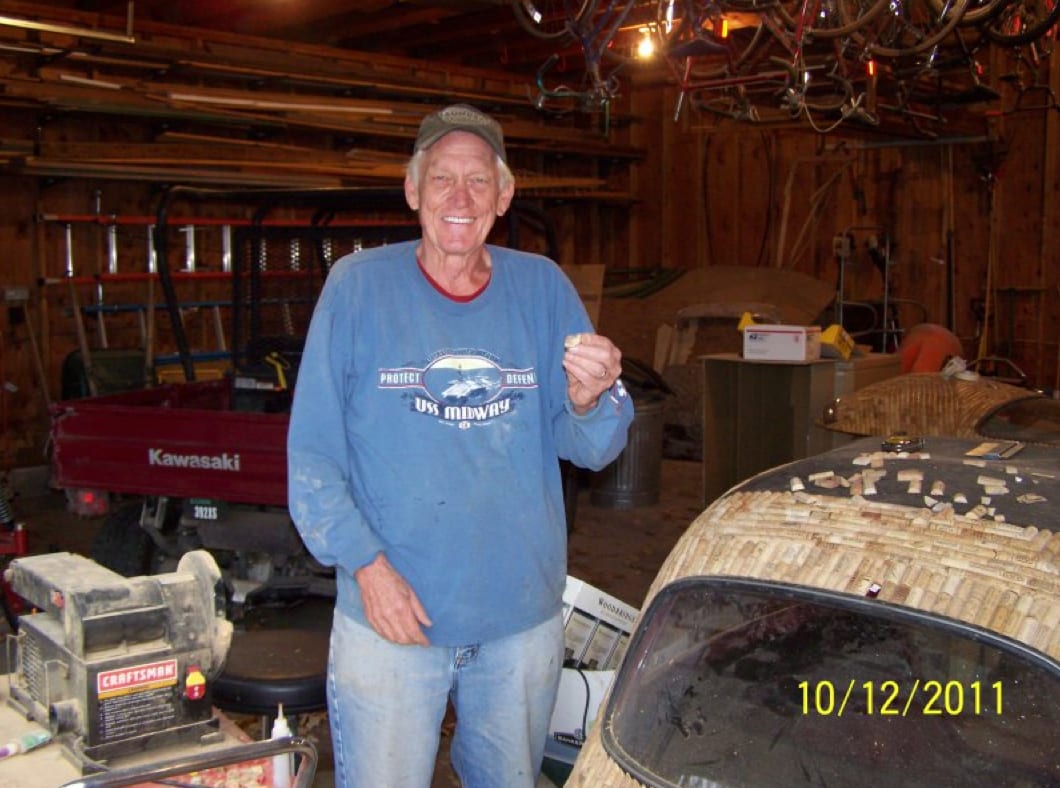
Since two of my hobbies were restoring cars and cork art, I decided to combine them!… after all, I had a lot of corks to use up! So after completely restoring a beat up BMW Isetta, I decided to finish it off by covering it with corks. At the time I didn’t anticipate the challenge ahead!

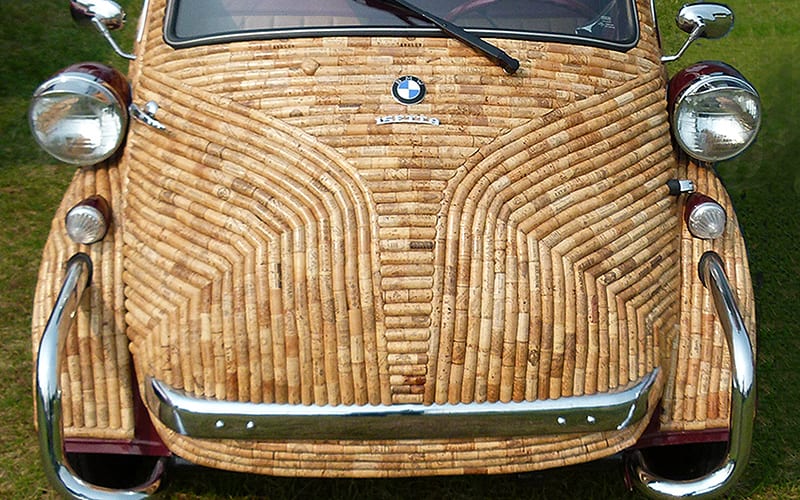
Corking a car is by far the most difficult. I try to follow the body lines of the car as much as possible, but the surface is never flat and the lines are constantly changing. I use a Dremel tool to shape some of the corks to lie flat. Working around door handles and tail lights is particularly challenging. I usually find it best to make a row of corks around the tail light, then bring the corks following the body lines directly into the row of corks.
Another challenge is to get the corks to fit the exact space you are filling in. If the space requires a row of five corks, they must come out exact or you would have to split the last row and that doesn’t look good. When I’m doing that sort of thing, I start measuring when I have four or five rows left. For example, if the space is 124mm, I would probably divided it into six rows, mark them with a marker to make sure that as I was closing in on the proper spacing.
I would have to say, with over 5 years experience and very little competition in this field, I think I could possibly be the world’s top expert in the craft of corking cars!
Wine-Searcher Article About My Cork Projects!